Rosella’s are one of the plants that has grown consistently well for us here on our little piece of paradise. They’re quite low maintenance and we haven’t had any problems with pests.
Rosella is a type of hibiscus that grows in tropical and subtropical regions. The rosella fruit is actually the protective calyx around the seed pod which is rich in vitamin C and antioxidants. So far, we’ve made jams, cordials, teas and sauces with them. Apparently, you can even add the flowers to salads to eat, you can stir-fry the leaves, and roast and dry the seedpods to grind and make flour with. We haven’t tried those yet, but maybe next season.
We plant our rosella seedlings in September, or as soon as the risk of frost has passed, in well-draining and fertilized soil, topped with sugarcane mulch. Seedlings are spaced about 1 metre apart. We’ll water them regularly when they are young or if we are going through a dry spell, but once they get going, they don’t need much maintenance at all. Rosella’s grow abundantly around February to March, and it seems the more you pick the more they keep producing.
When the rosella’s turn deep red and look nice and plump, they’re ready to harvest. Just snip them off at the bottom of the calyx. (We’ll leave a few rosellas on the plant to mature into seed pods for next year’s planting.)
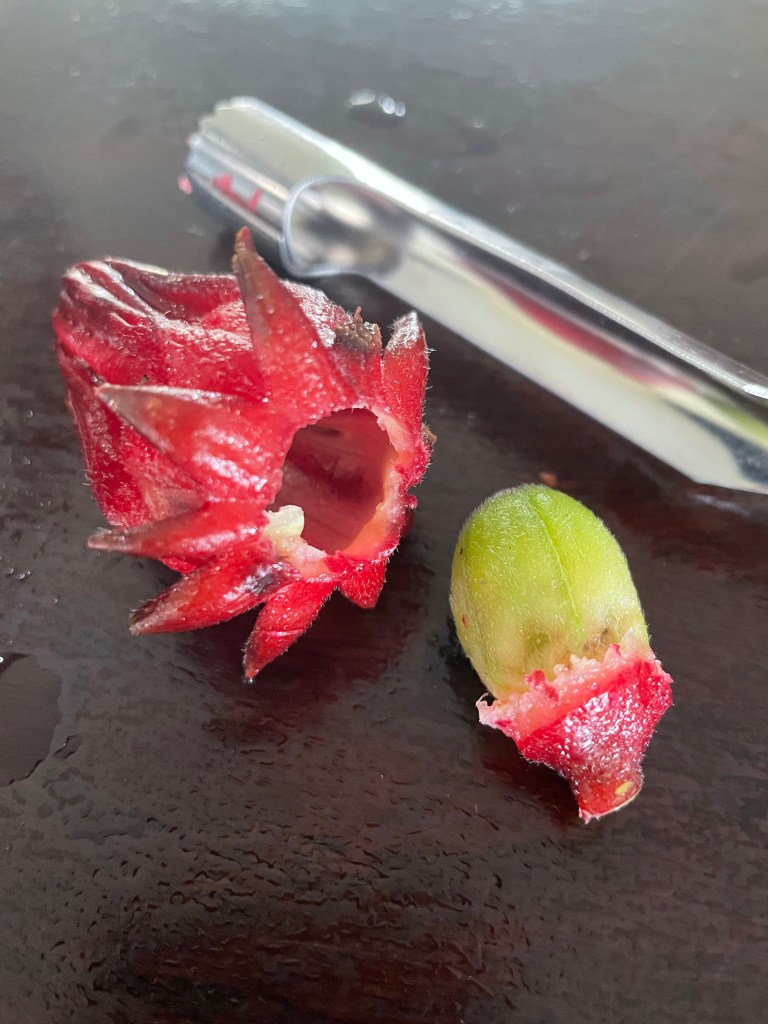
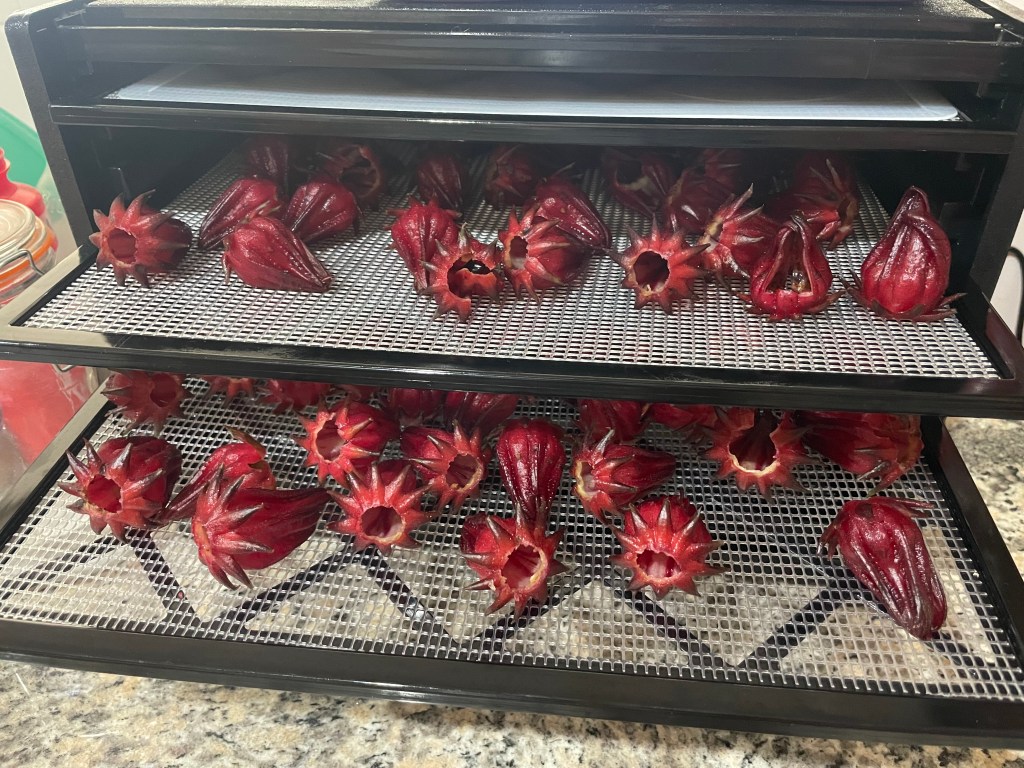
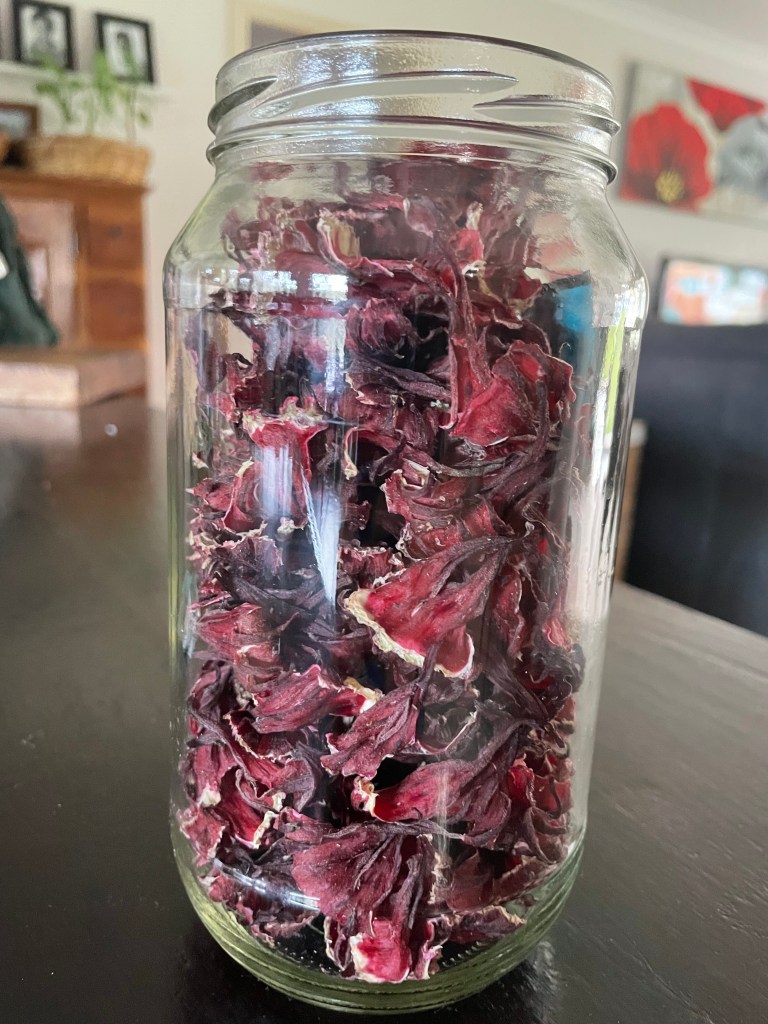
An apple corer deseeds the rosella beautifully, but if you don’t have one, just pick the calyx off around the seed pod. I like dehydrating them in one piece, that way I can put a couple of whole rosellas in my tea and they’re easy to just spoon out when ready.
Rosella Jam
Rosella Jam is so easy to make. You only need 3 ingredients. Rosellas, sugar or honey, and water. The only measurement we go by is whatever the weight of the cooked rosellas are, use the same weight of sugar or honey. The seedpods contain pectin which thickens the jam. You don’t actually eat the seedpods, they are just used to thicken the jam.
Steps:
- Separate the seedpods from the calyces and wash them separately.
- Put the seedpods in a pot. Fill with just enough water to cover the seedpods. Bring to a boil and then simmer for about 20 minutes.
- Once the seedpods have cooked, strain the juice into another pot and discard the seedpods. This is the juice you will make the jam with. It contains the pectin from the seeds which will thicken your jam.
- Add the rosella calyces to the juice and cook for another 20 minutes, stirring regularly.
- Once the rosellas are cooked, they can be blended if you want a smooth jam, or you can leave them if you like the texture. At this point pour the jam into a bowl and weigh the mixture and return to the pot.
- Whatever weight your mixture is, add the same weight of sugar or honey to the mixture and cook for about another 20 minutes or until the mixture is the right consistency. (One way to test is to put a plate in the freezer beforehand. Drop a blob of jam onto the frozen plate. If the jam sets firm, and you can tip the plate sideways without the jam running off the plate, it’s good to go!)
- While the jam is cooking it’s time to sterilize your jars. Wash them well with detergent and warm water, then place them in the oven at 120 degrees celcius for 10 minutes. Boil some water and sit the lids in the boiled water for 5 minutes, then drain.
- Once your jam and jars are ready, pour the jam into the jars, let them cool a bit and put the lids on.
If you accidentally add too much water like I did the first time, no worries, you can make it into a cordial for drinks, or a syrup to add to desserts.
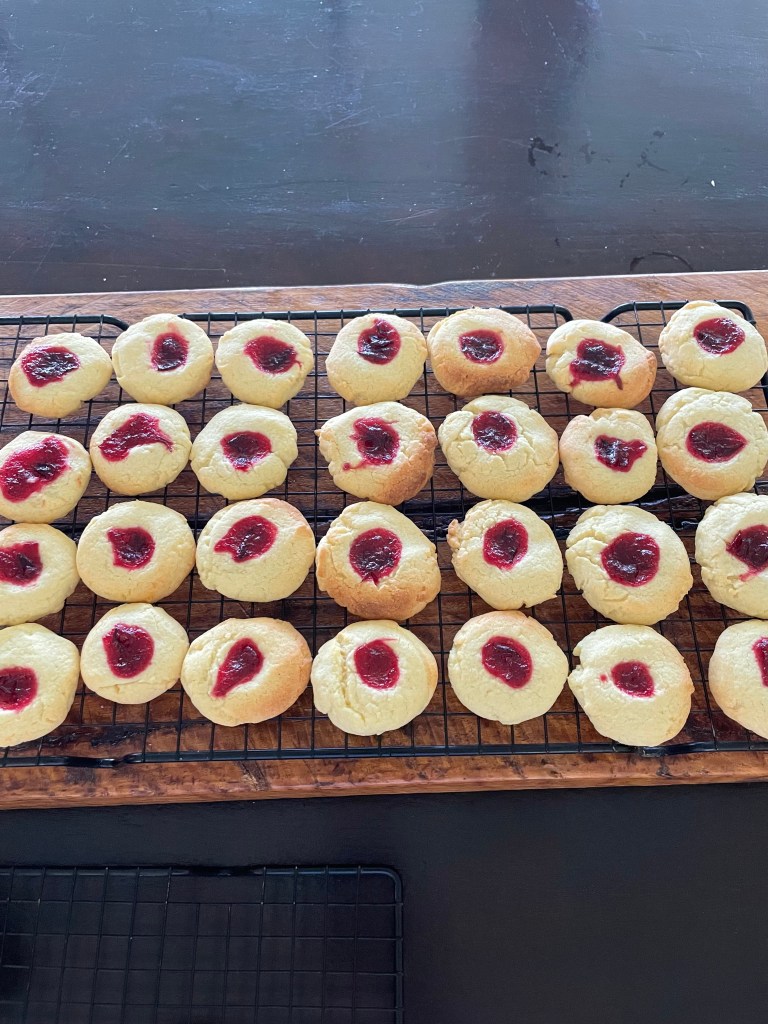
Here are some ways to eat your rosella jam!